UINavigationBar是我們在開發(fā)過程中經(jīng)常要用到的一個控件,下面是UINavigationBar一些常用的用法,部分代碼我使用了OC和Swift書寫
1. 設置導航欄的標題
self.navigationItem.title = @"UINavigationBar使用總結(jié)";
注意:修改導航欄的字體大小和顏色
self.navigationController?.navigationBar.titleTextAttributes = [NSForegroundColorAttributeName: UIColor.whiteColor(), NSFontAttributeName: UIFont.systemFontOfSize(24)]
得到的效果如下:

2. 設置導航欄的背景顏色-barTintColor
self.navigationController.navigationBar.barTintColor = [UIColor redColor];
得到的效果如下:

barTintColor: 這個屬性需要在iOS7以上才可以使用; 如果要支持iOS6以及以下的系統(tǒng),可以參考這篇文章:UINavigationBar Background Color
3. 設置導航欄的背景圖片
除了通過設置背景顏色來改變導航欄的外觀外,我們還可以通過背景圖片來設置導航欄的外觀。
[self.navigationController.navigationBar setBackgroundImage:[UIImage imageNamed:@"Background"] forBarMetrics:UIBarMetricsDefault];

在這里得稍微說說UIBarMetrics這個枚舉, 它主要是用來控制在不同狀態(tài)下導航欄的顯示。
和UIButton的- (void)setBackgroundImage:(nullable UIImage *)image forState:(UIControlState)state這個方法有點類似。
4. 更改頂部狀態(tài)欄的顏色
從效果圖可以看出,我們設置背景色或者背景圖之后,狀態(tài)欄依然還是默認的黑色,這樣感覺不好看。好在,系統(tǒng)給我們提供了UIStatusBarStyleDefault和UIStatusBarStyleLightContent兩種樣式供我們選擇。
UIStatusBarStyleDefault,系統(tǒng)的默認樣式,黑色內(nèi)容,用于淺色的背景(如白色)
UIStatusBarStyleLightContent 白色內(nèi)容,用于深色的背景(如紅色)
下面來看看具體怎么實現(xiàn),主流的實現(xiàn)方式是分兩步:
-
在工程的Info.plist文件中添加一行UIViewControllerBasedStatusBarAppearance,選擇Boolean類型,并設置為YES,Xcode會自動把名稱變?yōu)閂iew controller-based status bar appearance。
在你的ViewController中添加下面的方法
-(UIStatusBarStyle)preferredStatusBarStyle{ return UIStatusBarStyleLightContent;}
想知道更多地方式,可以參考這兩個頁面:
How to change Status Bar text color in iOS 7
iOS7下Status Bar字體顏色修改
特別需要注意的是,如果你的ViewController是通過navigationController push進來的,還需要加下面一句代碼才能生效:
self.navigationController.navigationBar.barStyle = UIBarStyleBlack;
具體,可參考UIStatusBarStyle PreferredStatusBarStyle does not work on iOS 7
我們來看看運行效果。

5. 設置返回按鈕的顏色-tintColor
從上面的效果圖中我們可以看到返回按鈕還是默認的藍色按鈕,下面我將會大家來介紹返回按鈕的個性化。
self.navigationController.navigationBar.tintColor = [UIColor whiteColor];
得到的效果圖如下:

6. 設置返回按鈕的圖片
// OC
- (void)goToBack {
[self.navigationController popViewControllerAnimated:YES];
}
- (void)setBackButtonWithImage {
UIImage *leftButtonIcon = [[UIImage imageNamed:@"LeftButton_back_Icon"] imageWithRenderingMode:UIImageRenderingModeAlwaysOriginal];
UIBarButtonItem *leftButton = [[UIBarButtonItem alloc] initWithImage:leftButtonIcon style:UIBarButtonItemStyleBordered target:self action:@selector(goToBack)];
self.navigationItem.leftBarButtonItem = leftButton;
//修復navigationController側(cè)滑關閉失效的問題
self.navigationController.interactivePopGestureRecognizer.delegate = (id)self;
}
// Swift: 我這個方法運行起來側(cè)滑并沒有失效
 func creatLeftBarbuttonItem() {
        let leftButtonFrame = CGRectMake(10, 10, 20, 25)
        let leftButton = UIButton(frame: leftButtonFrame)
        leftButton.setImage(UIImage(named: "fanhuijian"), forState: .Normal)
        leftButton.addTarget(self, action: #selector(self.leftButtonPop(_:)), forControlEvents: .TouchUpInside)
        self.navigationItem.leftBarButtonItem = UIBarButtonItem(customView: leftButton)
}

func leftButtonPop(sender: UIButton) {
        self.navigationController?.popViewControllerAnimated(true)
}
得到的效果如下:

這里需要注意的地方有三點:
1.需要自己實現(xiàn)返回按鈕的事件。
2.特別的解釋下UIImage的*imageWithRenderingMode:*方法,參數(shù)UIImageRenderingModeAlwaysOriginal 表示總是用原圖渲染,如果不這么設置,返回按鈕將會顯示tintColor的顏色(默認為藍色)。UITabbarItem也存在同樣地問題。
3.我們自己設置返回按鈕,會導致系統(tǒng)的側(cè)滑關閉效果失效。添加上面代碼中最后一句代碼即可修復。
7. 設置返回按鈕的文字
- (void)setBackButtonTitle {
UIBarButtonItem *leftButton = [[UIBarButtonItem alloc] initWithTitle:NSLocalizedString(@"取消", nil) style:UIBarButtonItemStylePlain target:self action:@selector(goToBack)];
leftButton.tintColor = [UIColor whiteColor];
self.navigationItem.leftBarButtonItem = leftButton;
}
得到的效果如下:

自定義返回按鈕如果上面幾種方式還無法滿足你的要求(比如,需要同時設置返回按鈕文字和圖片),就需要用到UIBarButtonItem的initWithCustomView方法。
- (void)setCustomLeftButton {
 UIView* leftButtonView = [[UIView alloc]initWithFrame:CGRectMake(0, 0, 60, 40)];
UIButton* leftButton = [UIButton buttonWithType:UIButtonTypeSystem];
leftButton.backgroundColor = [UIColor clearColor];
 leftButton.frame = leftButtonView.frame;
[leftButton setImage:[UIImage imageNamed:@"LeftButton_back_Icon"] forState:UIControlStateNormal];
[leftButton setTitle:@"返回" forState:UIControlStateNormal];
leftButton.tintColor = [UIColor redColor];
 leftButton.autoresizesSubviews = YES;
leftButton.contentHorizontalAlignment = UIControlContentHorizontalAlignmentLeft;
leftButton.autoresizingMask = UIViewAutoresizingFlexibleWidth | UIViewAutoresizingFlexibleLeftMargin;
[leftButton addTarget:self action:@selector(goToBack) forControlEvents:UIControlEventTouchUpInside];
 [leftButtonView addSubview:leftButton];
UIBarButtonItem* leftBarButton = [[UIBarButtonItem alloc] initWithCustomView:leftButtonView]; self.navigationItem.leftBarButtonItem = leftBarButton;}
得到的效果圖如下:

設置rightBarButtonItem基本上脫離不了上面的幾種方式,大家可以參照上面返回按鈕的設置方式。**
8. 隱藏導航欄底部的線條
有時候遇到一些特殊的要求,需要隱藏導航欄底部的線條。兩行代碼就可以做到。
- 設置導航欄的背景圖(setBackgroundImage方法)
- 設置導航欄的shadowImage (setShadowImage方法)
// 方法一:
// OC
UINavigationBar *navigationBar = self.navigationController.navigationBar;
//設置透明的背景圖,便于識別底部線條有沒有被隱藏
[navigationBar setBackgroundImage:[[UIImage alloc] init] forBarPosition:UIBarPositionAny barMetrics:UIBarMetricsDefault];
 //此處使底部線條失效
[navigationBar setShadowImage:[UIImage new]];
// Swift
 // 設置導航欄背景圖片
   self.navigationController?.navigationBar.setBackgroundImage(UIImage(), forBarMetrics: UIBarMetrics.Default)
  // 設置導航欄陰影圖片
  self.navigationController?.navigationBar.shadowImage = UIImage()

// 方法二:
// OC
UINavigationBar *navigationBar = self.navigationController.navigationBar;
//設置透明的背景圖,便于識別底部線條有沒有被隱藏
[navigationBar setBackgroundImage:[[UIImage alloc] init] forBarPosition:UIBarPositionAny barMetrics:UIBarMetricsDefault];
 //此處使底部線條失效
   self.navigationController!.navigationBar.clipsToBounds = YES;
// Swift
 // 設置導航欄背景圖片
   self.navigationController?.navigationBar.setBackgroundImage(UIImage(), forBarMetrics: UIBarMetrics.Default)
   self.navigationController!.navigationBar.clipsToBounds = true
來看看效果圖:

想要知道更詳細的內(nèi)容可以參考這個頁面:
How to hide iOS7 UINavigationBar 1px bottom line
9. 設置導航條底部線條的顏色
有了上面的基礎,設置導航欄線條的顏色就變得很簡單了。
首先,我做了個UIImage的分類:通過顏色轉(zhuǎn)成UIImage;
然后,用上面的方案來設置導航欄底部線條。
顏色轉(zhuǎn)圖片的代碼:
@implementation UIImage (ColorImage)
+ (UIImage *)imageWithColor:(UIColor *)color{
CGRect rect = CGRectMake(0.0f, 0.0f, 1.0f, 1.0f);
UIGraphicsBeginImageContext(rect.size);
 CGContextRef context = UIGraphicsGetCurrentContext();

CGContextSetFillColorWithColor(context, [color CGColor]);
CGContextFillRect(context, rect);

UIImage *image = UIGraphicsGetImageFromCurrentImageContext();
UIGraphicsEndImageContext();
return image;
}
@end
設置導航欄底部線條顏色的代碼:
UINavigationBar *navigationBar = self.navigationController.navigationBar;
[navigationBar setBackgroundImage:[[UIImage alloc] init] forBarPosition:UIBarPositionAny barMetrics:UIBarMetricsDefault];
//此處使底部線條顏色為紅色 調(diào)用上面的方法
[navigationBar setShadowImage:[UIImage imageWithColor:[UIColor redColor]]];
依照慣例,看下效果圖:

當然還有其他的方式也可以做到,如addSubview, addSubLayer等。感興趣的話可以參考下這個頁面:
iOS7 - Change UINavigationBar border color
10. 在導航欄上添加多個按鈕
以微信打開網(wǎng)頁時的效果為例,效果圖如下,有兩個按鈕:返回和關閉。

有下面兩種方式可供選擇,但是最終還是要用到leftBarButtonItems這個方法。**
#define UserMethod1 0
 UIBarButtonItem *closeItem = [[UIBarButtonItem alloc] initWithTitle:@"關閉" style:UIBarButtonItemStylePlain target:self action:@selector(closeAction)];
if (UserMethod1) {
//方法一:
self.navigationItem.leftBarButtonItems = @[closeItem];
//要求顯示默認的返回按鈕,但是文字會顯示默認的Back,暫時還不知道這個文字怎么改 self.navigationItem.leftItemsSupplementBackButton = YES;
} else {
//方法二
UIButton* leftButton = [UIButton buttonWithType:UIButtonTypeSystem];
leftButton.backgroundColor = [UIColor clearColor];
leftButton.frame = CGRectMake(0, 0, 45, 40);
 [leftButton setImage:[UIImage imageNamed:@"LeftButton_back_Icon"] forState:UIControlStateNormal];
 [leftButton setTitle:@"返回" forState:UIControlStateNormal];
leftButton.tintColor = [UIColor whiteColor];
leftButton.autoresizesSubviews = YES;
leftButton.contentHorizontalAlignment = UIControlContentHorizontalAlignmentLeft;
leftButton.autoresizingMask = UIViewAutoresizingFlexibleWidth | UIViewAutoresizingFlexibleLeftMargin;
 [leftButton addTarget:self action:@selector(goToBack) forControlEvents:UIControlEventTouchUpInside];
UIBarButtonItem* backItem = [[UIBarButtonItem alloc] initWithCustomView:leftButton];
self.navigationItem.leftBarButtonItems = @[backItem,closeItem];
}
Swift
    override func viewDidLoad() {
        super.viewDidLoad()
        let closeItem = UIBarButtonItem(title: "關閉", style: .Plain, target: self, action: Selector("closeAction"))
        closeItem.tintColor = UIColor.whiteColor()
        //        self.navigationItem.leftItemsSupplementBackButton = true
        let leftButton = UIButton(type: .System)
        leftButton.backgroundColor = UIColor.clearColor()
        leftButton.frame = CGRectMake(0, 0, 45, 40)
        leftButton.setImage(UIImage(named: ""), forState: .Normal)
        leftButton.setTitle("返回", forState: .Normal)
        leftButton.tintColor = UIColor.whiteColor()
        leftButton.autoresizesSubviews = true
        leftButton.contentHorizontalAlignment = .Left
        leftButton.autoresizingMask = [.FlexibleWidth, .FlexibleLeftMargin]
        leftButton.addTarget(self, action: "goToBack", forControlEvents: .TouchUpInside)
        let backItem = UIBarButtonItem(customView: leftButton)
        navigationItem.leftBarButtonItems = [backItem, closeItem]
    }
然后,運行的效果圖如下:

方法一用到了leftItemsSupplementBackButton
這個屬性,會顯示系統(tǒng)默認的返回按鈕,但是文字也是顯示默認的Back文字,目前還沒找到怎么修改這個文字,如果有誰知道,還請不吝賜教;所以我暫時還是建議大家用方法二。相應的還有 rightBarButtonItems 這個屬性,如果要在導航欄右側(cè)展示多個按鈕的話,可以設置這個屬性。
11. 在導航欄上添加分段控件
這次,以QQ為例,代碼如下:
UISegmentedControl *segControl = [[UISegmentedControl alloc] initWithItems:@[@"消息",@"電話"]];
 segControl.tintColor = [UIColor colorWithRed:0.07 green:0.72 blue:0.96 alpha:1];
[segControl setSelectedSegmentIndex:0];
self.navigationItem.titleView = segControl;
代碼很簡單,就是設置titleView
這個屬性,當然,你也可以把這個屬性設置為你自定義的View。

12. 導航欄全局屬性設置
//全局設置導航欄主題
- (void)setNavigationControllerAppearance {
[UINavigationBar appearance].barStyle = UIBarStyleBlack;
[[UINavigationBar appearance] setBarTintColor:[UIColor colorWithWhite:0.1 alpha:0.5]];
 [[UINavigationBar appearance] setTintColor:[UIColor whiteColor]];}
全局設置導航欄的好處有兩個:
一是不用對每個NavigationBar進行設置;
二是方便做主題管理,切換主題,只需要更改全局設置即可。
13. 與導航欄相關的一些開源組件
13.1 NJKWebViewProgress - 類似于Safiri加載網(wǎng)頁時的進度顯示
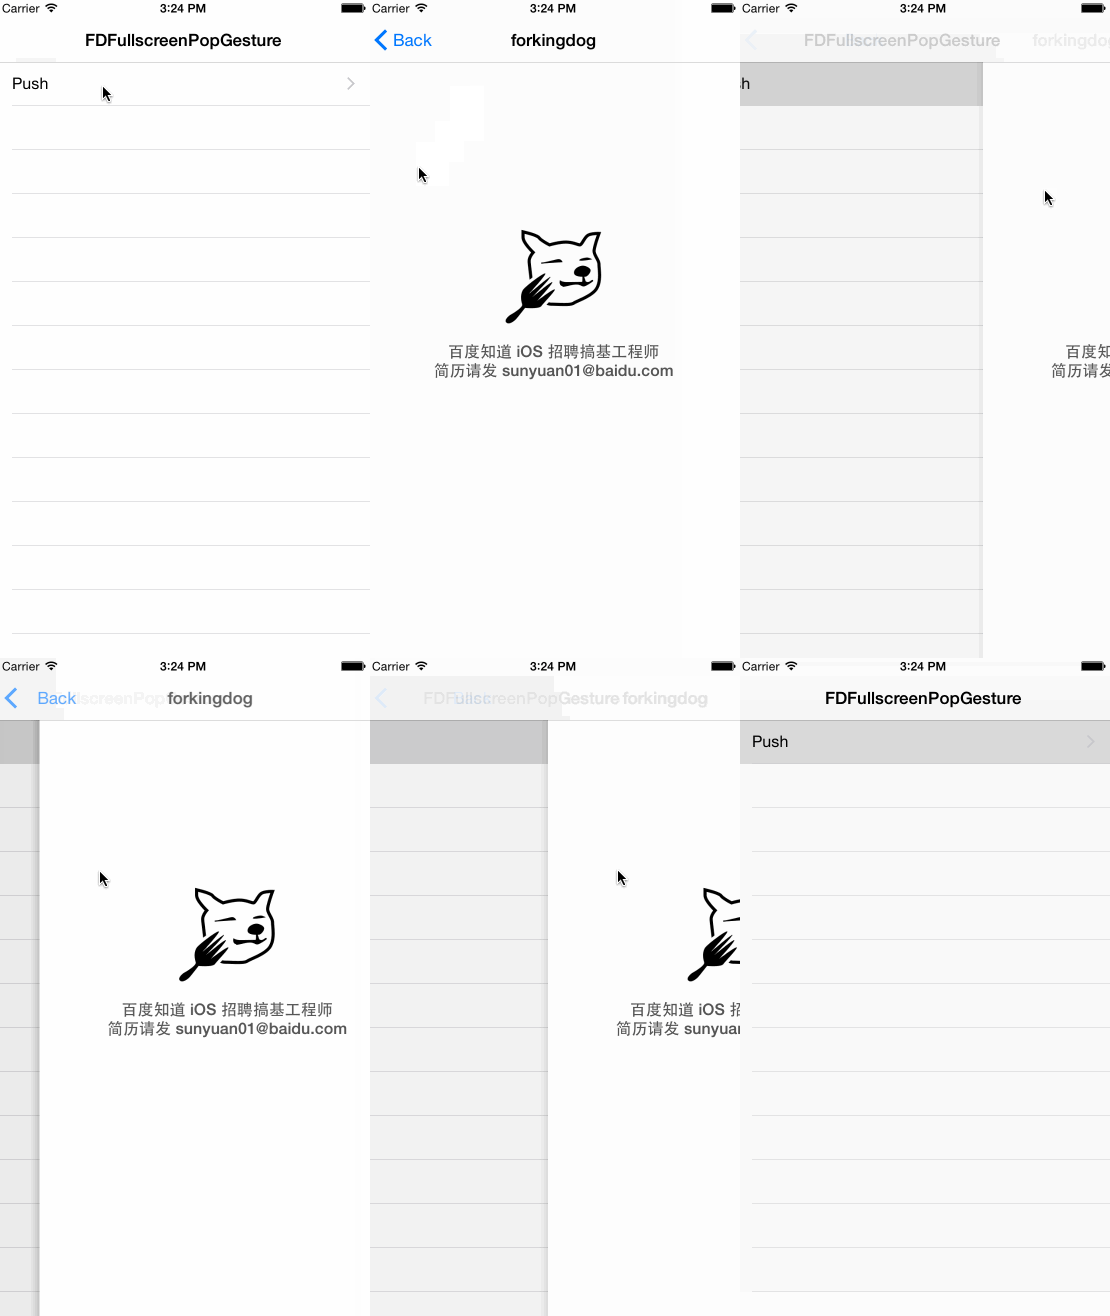
13.2 FDFullscreenPopGesture - 一個絲滑的全屏滑動返回手勢
對應的文章介紹可以點這個鏈接。

最后,奉上Demo的地址:NavigationBarDemo
文/落羽生(簡書作者)原文鏈接:http://www.lxweimin.com/p/f0d3df54baa6
